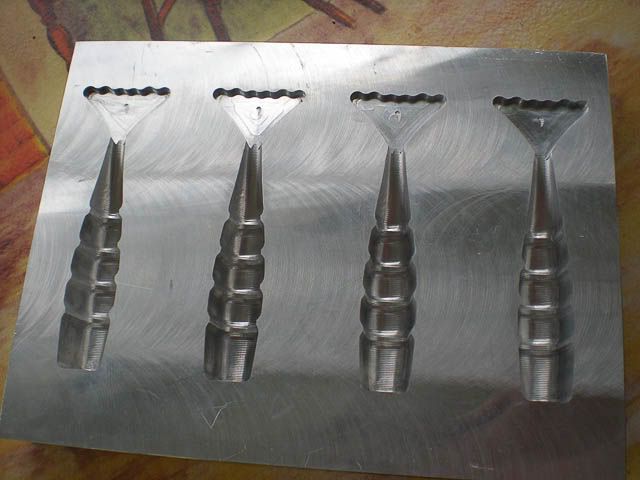
This is my latest project. A 7.5" long bass worm I milled out for a fellow fisherman who frequents my favorite fishing forums.
He gave me a pdf scan of a hand pencil drawing to work with and I plugged it into solidworks to take some general measurements with. He actually drew it to scale and besides not using a ruler he did a pretty good job for someone not familiar with blueprints or the machining process. He had quite a few sharp corners that would be impossible do to without EDM so we had to work out a few changes but I think it came out pretty faithful to his drawing otherwise.

I'm really pleased with the way it came out. The final finish didn't turn out quite as well as I had expected as the finish on one side of the worm showed some tool deflection. I was using an extra long flute length carbide 1/8" ball mill for the finish with high feed. The surface finish is always poorer with high feed but I was expecting better since I only allowed it to ramp up to a 80ipm max feed instead of the Haas mill's max feed rate.
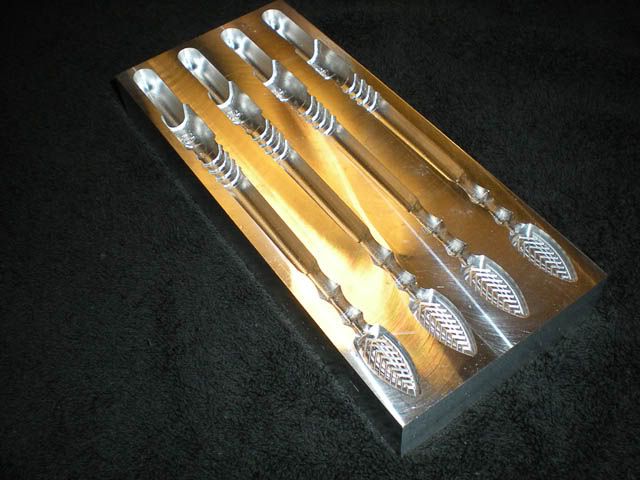
The tail of the worm is the only part that isn't done with a surfacing toolpath, I added a chevron pattern of slots onto his design that I think look really neat.

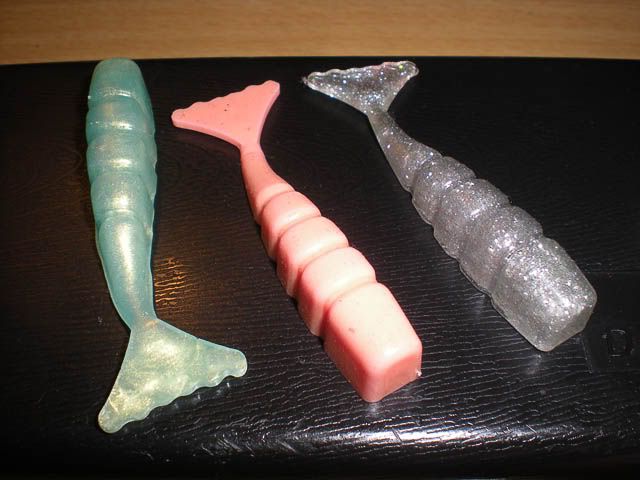
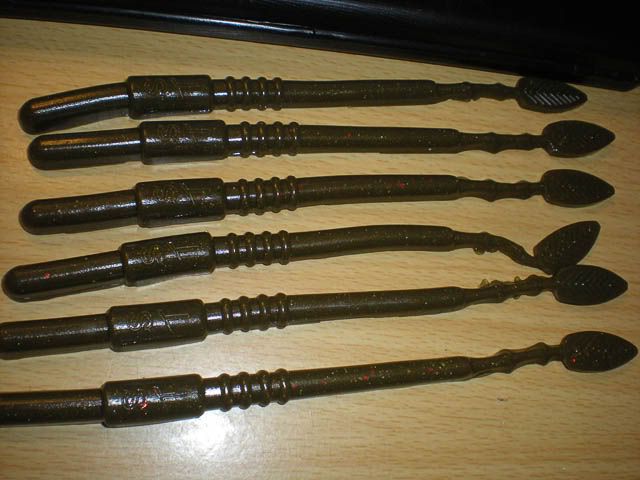
The finish looks great on the final molded worm, however, as it gives it kind of a digital look.